Physical 3d outcome: process and outcome
In this post, I will describe the different steps that I went through to make my 3d physical outcome.
I think I can sum up the steps into 3 phases: 2d planning on the software AutoCAD, using the laser cutting workshop, and lastly putting everything together.
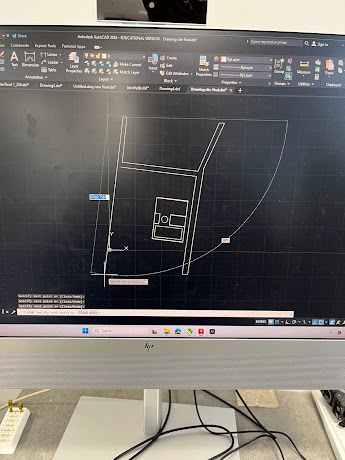
I first started by making a base for the building which is the rectangle on the right, the measurements were 19cm by 14.25cm because I used a 1:421 scale.
Then I made the roof on the right whilst taking into consideration the placement of the glass roofs as can be seen below:
I put an octagon just by typing it in the command bar and put it in the center of the lobby.
Then I created the walls for the ground floor, the two larger parts are in the west and east elevations, and the other parts are separated by the stairs of the north elevation and the infinity pool of the south elevation.
the element on the right is the roof, the center is the 1st floor, and the left is the ground floor/base.
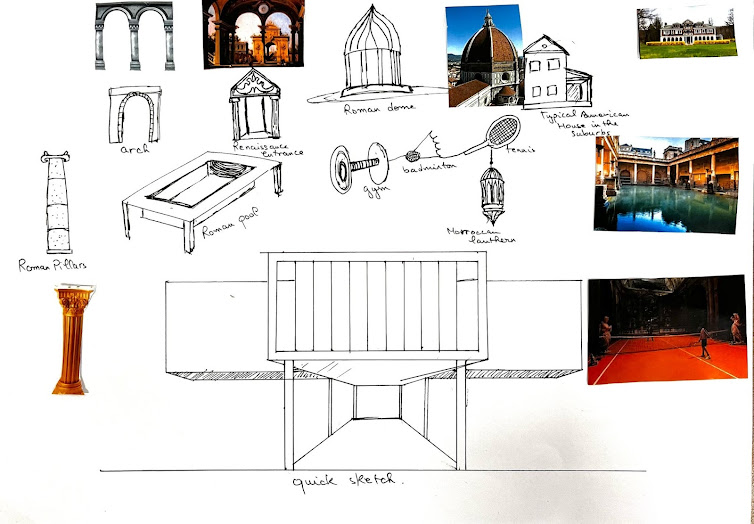
then I made two 3-point arches and crossed them together then copied and pasted multiple times and added the columns to achieve these parts.
This one was specifically different because it is for the southern part of the lobby overlooking the pool, I made it by taking three of the arches mentioned before and elongating them using the stretch command.
I did the same process with this northern part of the Lobby. however, I expanded the central arch because it will be the entrance.
this was the result of this phase, scaled at 1:421.
I downloaded it as a DXF file because that is what we were told to do in the 3d laser workshop.
I then went to the workshop and imported my design from my drive.
I configured the machine to Pulp wood which was the material I used.
This was the result of this phase.
I then went back to the studio to glue everything together, I used an all-purpose glue for this process which was successful.
I first glued the walls to the floor.
I then glued the arches together, this was the lobby part.
this was the result, it is exactly what I expected.
I then glued the arches to the floor and put the floor on top without gluing it because I am still going to develop.
this was the result of this phase.
I then went back to the workshop to cut the glass part, the material that I used for this model was 3mm acrylic, this was for the roof parts (octagon+rectangle+pool cover), in addition to the glass swimming pool.
then I glued the pool parts together, this is what they looked like.
then I glued the parts of the roof and glued the roof in final.
The next part was to include the site in the model, I designed it by rendering a picture of the site that I had made before, I then went to the workshop to cut the edges and engrave the inside parts.
here is a video of the process.
then I glued the main structure to the site plan.
I then printed some Multipurpose pitches and cut some artificial grass for the 4 tennis pitches and the football pitch in addition to the parking lot.
Lastly, I added 4 trees to the west elevation.
here are some pictures of the outcome.


Comments
Post a Comment