Floor plans: process
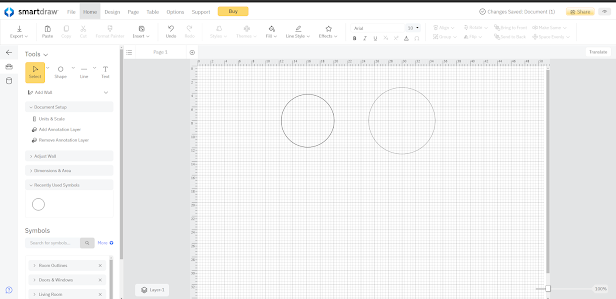
At first, I started by drawing two circles using the shapes command, the large one has a diameter of 10cm and the smaller one has a diameter of 8cm.
then I repeated this process by making inner circles that have a diameter lower than each outer circle with 1cm.
now, I connected the two circles to create the structural shape of the floor
then I added 6 bookshelves as a representation of what it would look like.
For this process, I used a software called Smart Draw, I liked it because it is quick, easy, and has all the necessary elements to make floor plans.
Then I added tables and labeled a part of it as "kitchen", for the staff.
then I repeated this process by making inner circles that have a diameter lower than each outer circle with 1cm.
now, I connected the two circles to create the structural shape of the floor
then I added 6 bookshelves as a representation of what it would look like.
lastly, I added two lifts one through the main tower and the other through the other high ceiling.
For this process, I used a software called Smart Draw, I liked it because it is quick, easy, and has all the necessary elements to make floor plans.
final outcomes:
floor plan duplicated over each floor with different measurements.floor plan of the restaurant at the top.
Process:
I used two circles to represent the top restaurant of the building with a panoramic view.


Comments
Post a Comment